How to Install Water Softener: Complete DIY Guide 2025
Installing a water softener in your home can dramatically reduce hard water problems while saving you hundreds of dollars in professional installation fees. With the right tools and knowledge, most homeowners can successfully complete this project in 4-6 hours, transforming their water quality and protecting their plumbing investment.
Understanding Water Softener Installation Requirements
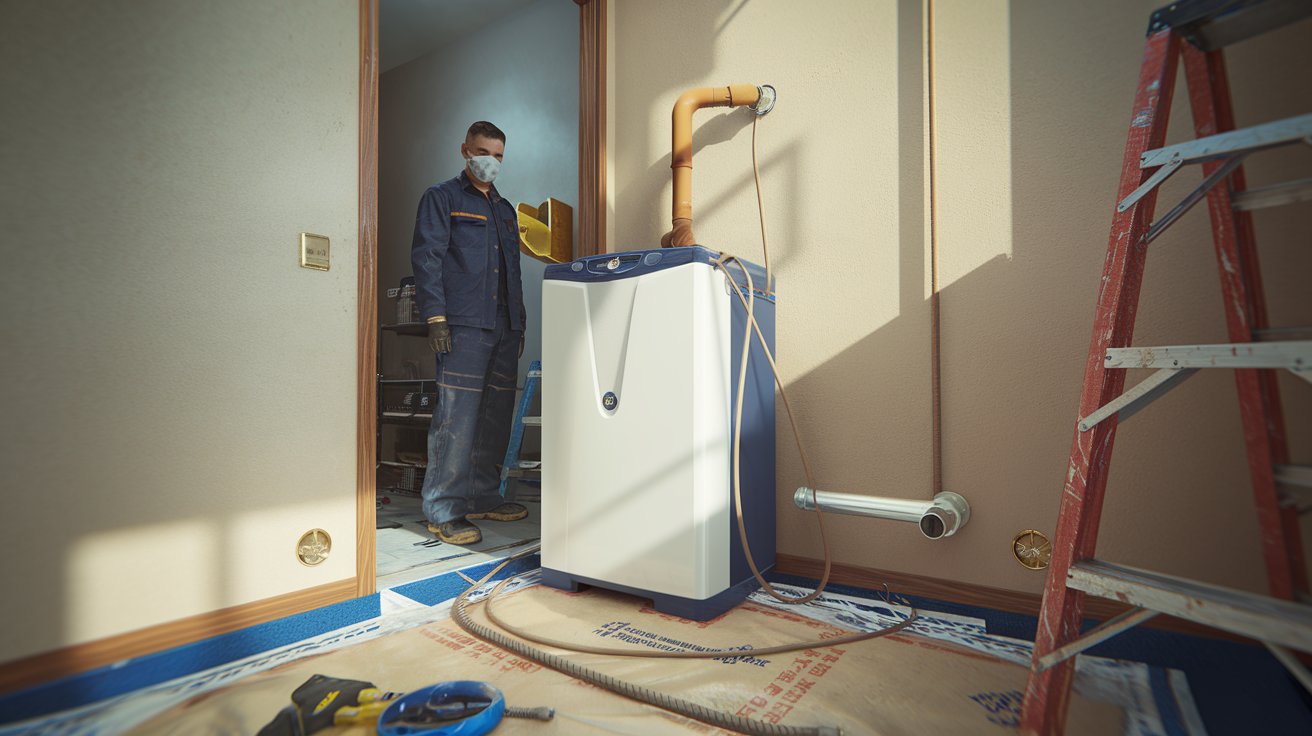
Before beginning your water softener installation, you need to understand the basic requirements for a successful setup. Most residential water softeners require a dedicated electrical outlet, proper drainage access, and sufficient space for the system and salt storage. The installation location should be protected from freezing temperatures and easily accessible for maintenance.
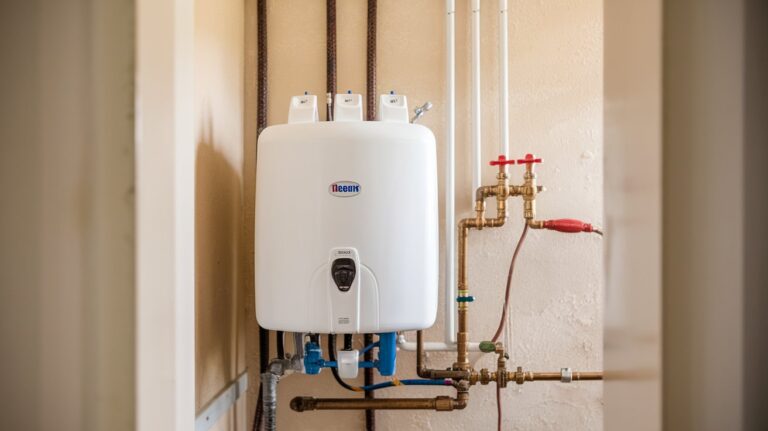
A typical water softener system consists of three main components: the mineral tank, brine tank, and control valve. The mineral tank contains resin beads that remove calcium and magnesium ions, while the brine tank holds salt for the regeneration process. Understanding these components helps you plan the installation layout and ensure proper connections.
Choosing the Right Installation Location
The ideal location for your water softener in house installation is typically near the main water line entry point, before the water heater but after the pressure tank if you have a well system. Common locations include basements, garages, utility rooms, or crawl spaces. Ensure the area has adequate ventilation and protection from extreme temperatures that could damage the system.
Essential Tools and Materials Needed
To successfully install water softener equipment, you’ll need specific tools including pipe cutters, soldering equipment or compression fittings, adjustable wrenches, drill with bits, and measuring tape. Materials required include copper or PEX piping, shut-off valves, bypass valve assembly, pipe fittings, electrical connections, and drain line materials. Having all supplies ready prevents project delays.
Step-by-Step Water Softener Installation Process
The water softener installation process begins with shutting off the main water supply and draining existing lines. Mark the location where you’ll cut into the main water line, ensuring you have adequate space for the bypass valve assembly. Most installations require cutting the main line and installing the bypass valve that allows water to flow through or around the softener system.
Next, position the mineral tank and brine tank according to the manufacturer’s specifications, ensuring proper clearance for maintenance access. Connect the inlet and outlet pipes to the bypass valve, then run the drain line from the control valve to an appropriate drainage point such as a floor drain or sump pump.
Connecting Water Lines and Bypass Valve
When connecting water lines to your softener system, ensure the inlet receives hard water from the main supply while the outlet delivers softened water to your home. Install shut-off valves on both inlet and outlet lines for future maintenance. The bypass valve allows you to divert water around the softener when necessary, making it an essential safety feature for system maintenance.
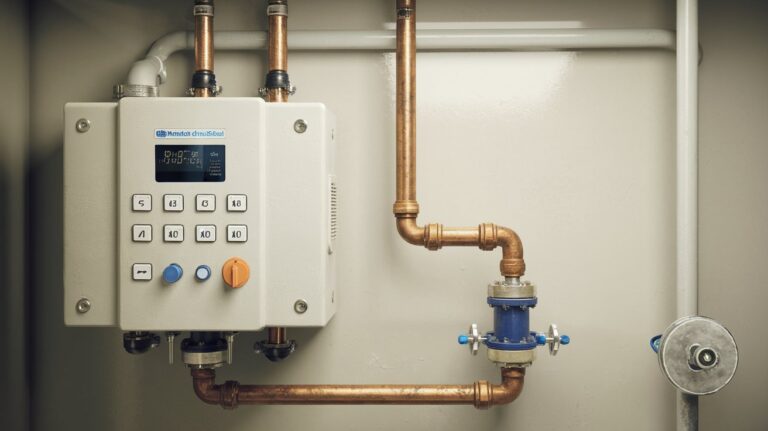
Establishing Proper Drainage and Electrical Connections
Your water softener system requires a drain line for the regeneration cycle wastewater. This drain line should have a minimum 1/2-inch diameter and proper air gap to prevent backflow contamination. Connect the electrical supply to power the control valve, ensuring you follow local electrical codes and use appropriate GFCI protection for wet locations.
Cost to Install Water Softener in 2025
The cost to install water softener varies significantly between DIY and professional installation options. Professional installation typically ranges from $800 to $2,500 depending on complexity, location, and additional plumbing modifications required. DIY installation costs primarily involve tools and materials, usually ranging from $100 to $400 for most standard installations.
Home Depot charges approximately $300 to $500 for basic water softener installation, not including the system cost. However, this price can increase substantially if additional plumbing work, electrical connections, or challenging installation locations are involved. Complex installations in finished basements or tight spaces may cost $1,000 or more professionally.
How to Install Water Softener Outside
Installing a water softener outside requires additional weatherproofing considerations and protection from freezing temperatures. Choose a location with adequate shelter such as a covered patio or dedicated enclosure. The installation must include proper insulation for pipes and electrical connections, plus drainage that won’t create ice hazards during winter months.
Outdoor installations need weatherproof electrical outlets and may require additional permits depending on local building codes. Consider installing a bypass valve inside the home for easier winter maintenance, and ensure the system has adequate ventilation while remaining protected from rain and direct sunlight that could damage plastic components.
Installing Water Softener Without Loop
Many homes lack a pre-installed water softener loop, requiring you to install water softener without loop by cutting into existing plumbing. This process involves identifying the main water line after the meter but before the water heater, then installing the necessary valves and connections. While more complex than loop installations, this method is still achievable for skilled DIY homeowners.
When working without a loop, plan your pipe routing carefully to minimize disruption to existing plumbing. Consider installing the bypass valve in an accessible location even if it requires additional piping, as this provides essential maintenance access and emergency water supply options when needed.
How to Install Water Softener in Garage
Garage installations offer convenient access and ample space for water softener in garage setups, but require attention to temperature protection and drainage solutions. Ensure the installation location stays above freezing and has adequate ventilation. Most garages need additional drainage solutions since floor drains aren’t always available.
Consider installing a drain pump system if gravity drainage isn’t possible, and ensure electrical connections meet local codes for garage installations. Protect the system from potential vehicle damage and maintain clear access paths for salt refilling and routine maintenance activities.
Water Softener to Water Heater Installation
Connecting your water softener to water heater requires installing the softener upstream from the heater to protect the heating elements from scale buildup. The softened water line should feed directly into the water heater inlet, while maintaining separate hard water lines for exterior faucets and irrigation systems that don’t require softened water.
Proper installation protects your water heater investment by preventing calcium and magnesium deposits that reduce efficiency and shorten equipment life. Most manufacturers recommend installing the water softener as close to the water heater as practical while maintaining adequate service clearances for both appliances.
Water Softener for Shower Installation
Installing a water softener for shower applications focuses on ensuring adequate flow rates and pressure for comfortable bathing experiences. Calculate your household’s peak water demand to size the system appropriately, considering simultaneous shower use and other water needs. Most residential softeners handle multiple shower applications without pressure loss when properly sized.
Consider installing separate bypass lines for outdoor spigots and irrigation systems that don’t require softened water, preserving your salt supply for indoor applications. This targeted approach maximizes the benefits of softened water where needed while reducing operating costs for unnecessary applications.
Do I Need a Plumber to Install Water Softener
Whether you need a plumber depends on your DIY skills, local building codes, and installation complexity. Basic installations with existing loops or straightforward plumbing configurations are often manageable for experienced homeowners. However, complex installations involving significant plumbing modifications, electrical work, or code compliance issues typically require professional expertise.
Consider hiring a plumber if you’re uncomfortable with soldering, lack proper tools, or face challenging installation conditions such as tight spaces or complex pipe routing. Professional installation provides warranty protection and ensures code compliance, which can be valuable for future home sales or insurance claims.
Related video about how to install water softener
This video complements the article information with a practical visual demonstration.
Questions & Answers
Can I install a water softener system myself?
Yes, most homeowners with basic plumbing skills can install a water softener system themselves. The process typically takes 4-6 hours and requires standard plumbing tools, pipe fittings, and electrical connections. However, complex installations or those requiring significant plumbing modifications may benefit from professional expertise to ensure proper operation and code compliance.
Do I need a plumber to install a water softener?
A plumber isn’t always necessary for water softener installation, but professional help is recommended for complex installations, homes without existing loops, or when local building codes require licensed work. Professional installation costs $800-$2,500 but provides warranty protection and ensures proper setup, while DIY installation saves money but requires adequate skills and tools.
How much does it cost to add a water softener to a house?
Adding a water softener to a house costs between $1,200-$4,000 total, including equipment and installation. The system itself ranges from $400-$2,000, while professional installation adds $800-$2,500 depending on complexity. DIY installation reduces costs to just equipment plus $100-$400 in materials and tools, making it an attractive option for skilled homeowners.
What does Home Depot charge to install a water softener?
Home Depot typically charges $300-$500 for basic water softener installation, not including the system cost. This price covers standard installations with existing plumbing loops and minimal modifications. Complex installations requiring significant plumbing work, electrical connections, or difficult access locations may cost $1,000 or more through their contractor network.
Where should I install my water softener in the house?
Install your water softener near the main water line entry point, after the pressure tank but before the water heater. Ideal locations include basements, utility rooms, garages, or protected outdoor areas. The location should have electrical access, proper drainage, freeze protection, and adequate space for maintenance and salt refilling activities.
How long does water softener installation take?
Water softener installation typically takes 4-6 hours for experienced DIY installers or 2-4 hours for professional plumbers. Installation time varies based on complexity, existing plumbing conditions, and whether additional electrical or drainage work is required. Simple installations with existing loops are faster, while complex installations without loops may take 8-10 hours.
| Installation Aspect | DIY Details | Professional Benefits |
|---|---|---|
| Cost Savings | $800-$2,500 saved on labor | Warranty and insurance coverage |
| Time Investment | 4-6 hours average installation | 2-4 hours professional completion |
| Code Compliance | Research local requirements | Automatic code compliance |
| Tools Required | $100-$400 tool investment | All tools and materials included |